
Back for a few updates, I've been busy with other things namely development on our game with a programming team. Details are not up yet but when they are I will be posting them on our official Free Fall Interactive site at http://www.ffil.co.uk.
Now that's out of the way lets get down to business.
The other day I decided it was about time to get cracking on my skinning tutorials which due to being totally knackered at the time were delayed. However I didn't want to work on someone else's hand, it destroyed the point for me so I chose to rip an arm from one of our models so it could be personal to me, the only true way to understand these topics is to go from scratch as you would.
So that's just what I did...
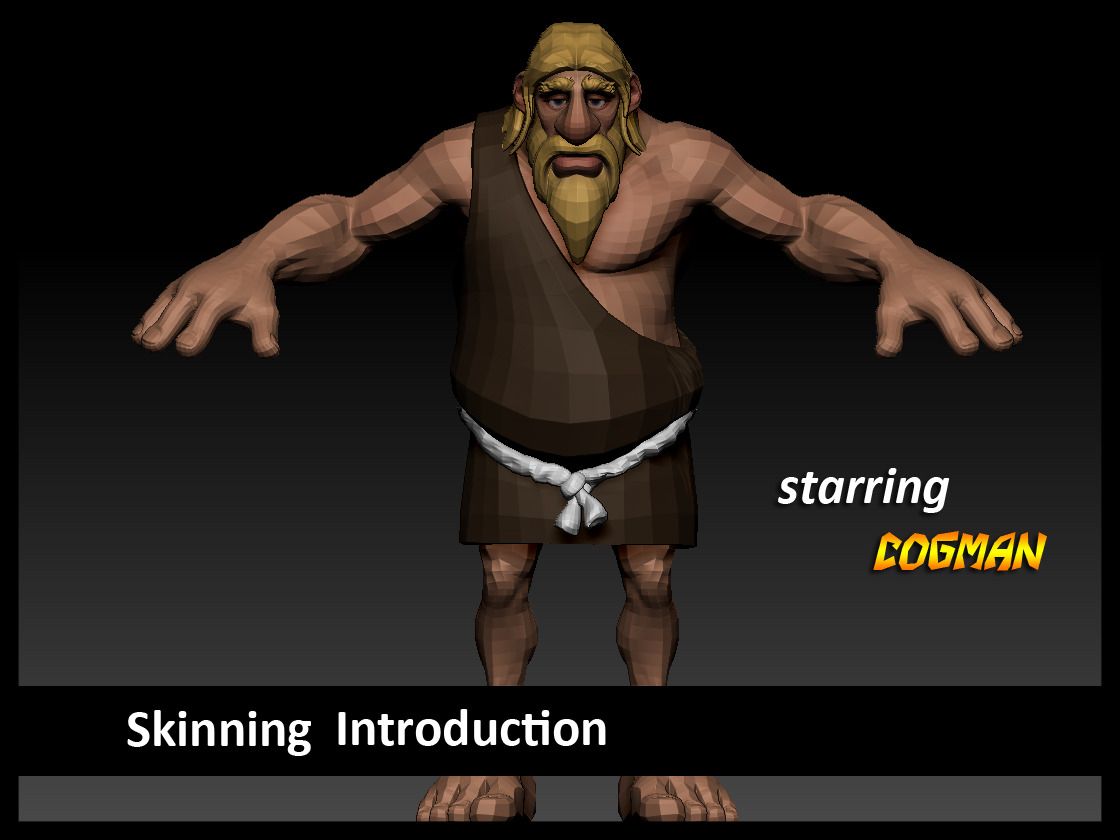
As you can see from the Image above Cogman will be starring in my renditions of these tutorials (specifically his arm). I ported him via ZBrush's GoZ functionality allowing a direct port into Maya 2012 from there I sliced off his arm and kept it smooth as I proceeded to get his rig into position.
I began with the component method of skinning which required me to add and subtract influence from individual vertices's, this method probably took the longest as I was trying to be so precise at getting the points to their correct levels. The video above shows the result I would like to mention that at this point It had not dawned on me to create a wire comparison so apologies for that. Never the less it was rigged with the component method I assure you.
Next came the Weight Painting Method (using Smooth Bind) this method I am much more familiar with as it allows you to physically see your vertice points with hues from white to 50 percent grey to black. The density of shade is what determines the bones influence over the outer laying mesh/geometry. Overall it is just more user friendly and allows you to cross fade into sections using the shift smudge tool.
Next came the death defying Rigid Bind Method something which I envisioned being some form of limitation when it came to skinning I could not have been more wrong. Selecting vertices's again was a bit of a chore until I saw that I could view all of them freely and see which were active on a specific bone. I was only more impressed when I got to try out the wiggle deformers for the tool which allowed the skin on Cogmans hand to deform better then my smooth binded version... I didn't think I would be but I am impressed with the Rigid Bind.
The Interactive Method is something that I have used in the past (there is a rendition of it in 3DS Max), while I can empathise with the speed to which the tool can bring results I do not hold it in such high regard as weight painting or the rigid bind. The dials and devices make the job quicker as you slide and move things to get the curve you want but my argument lies in the inability to be able to fine tweak and add those little bits that animate geometry perfectly.
Last but not least is the Object Influence Method I would say that this is to expand on an existing rig more so then it is to be used as a full mesh skinning method. In the video above you can see a plain near the elbow and there is a sphere in the bicep, you use these as objects in which you weight paint in animation and key their influence. The plane on the elbow pulls the curved geometry making it more narrow as an elbow should be. The sphere in the bicep causes a deformation of sorts as a bicep would.
Well that concludes this little post on Rigging I know it was meant to be done for the last unit but to be honest I like that I managed to make it work for me in a different way on a different model entirely. I'm actually happy that I can now do these methods in other little projects that I hold dear.
Anyway Catcha Later.
xXStItChXx
FYI - The reason why students are asked to repeat tasks using existing scene files is to help us (tutors) evaluate the results based upon a fixed outcome (per tutorial).
ReplyDelete