
Been working on finishing the Night Car over the past few days and I still have a few little bits to fold away after this post but I think I will be able to meet the deadline. Yesterday was my duty to texture and dirty up the night car. As I am sure many of you already know from the staged concept phases. In terms of the Stage 3 I wanted to keep things quick hence I decided to make my final stage for any and all Stage 3 Concept a multi-pass render from Zbrush. I'm not being funny but it's just a quicker way for me to get a decent output then wasting a day or so drawing it.
I am working to the strengths of my skillset to have a quicker workflow and I have a few things I want to post before the big Crit Day. I will take this opportunity to say that there are lots of Render passes involved in this Weta design. This does not mean I am going to sit there and render each one out for a video. A lot of these materials do not port into Maya so this post is merely just to conclude the conceptual Stages of my models. I spent a lot of time rusting up this car yesterday as well as trying to give every surface a texture so it is not "too smooth".
Anyway lets get to the interesting content!!
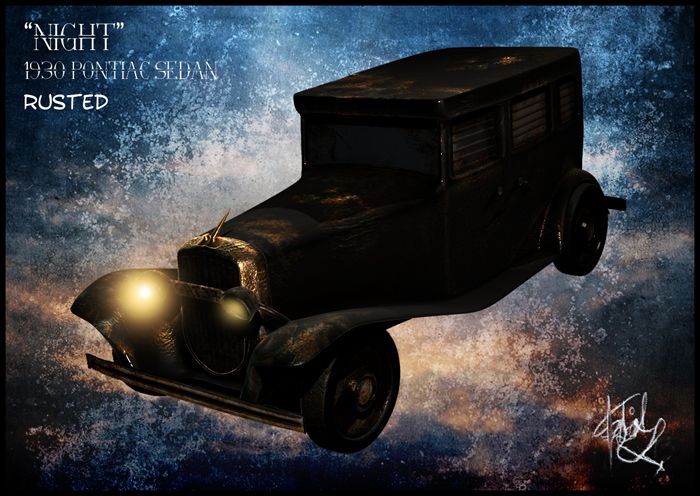
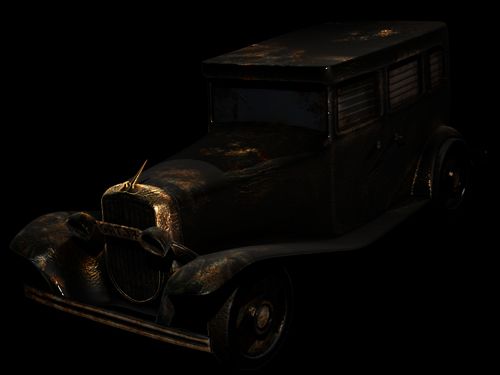
The image above shows the final stage of my Weta Pontiac "Night" car. A lot of work went into putting rust into it and adding dirt so it wasn't smooth. For these I had to use a rust texture on a custom brush which was set to a custom alpha scatter brush. The brush also had to create deformation so I switched it between zadd and zsub which uses the alpha to create actual deformation into the high resolution mesh. There were also a number of custom materials used to get the look of the car what I considered to be "right". The lights were a last minute Photoshop addition.
 |
 |
 |
 |
 |
 |
 |
 |
 |
 |
 |
 |
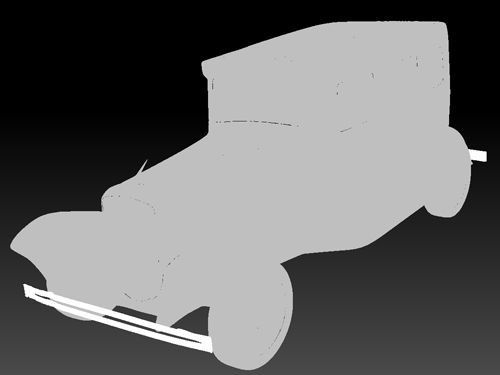
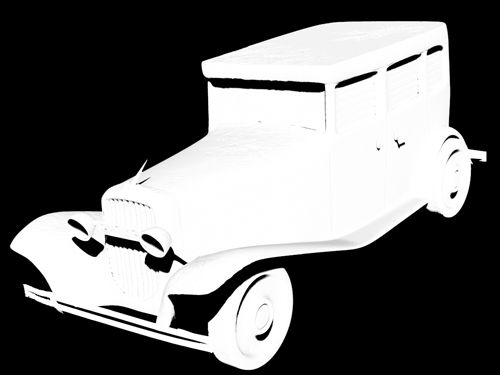
1. MASKING
The masking stage for an object other then a human can be quite tiresome mainly because you have to break the geometry and for some reason I couldn't port it back and forth to Maya easily. I therefore had to do all the breaking of the mesh in Zbrush using the masking and poly-groups tool... Something which was a welcome surprise once I got the hang of it. I often wondered why some meshes when you ported them to Maya were in pieces. Now I know that they wasn't' they were poly-grouped and you can just as easily combine and quick merge them to become a single mesh again...
 |
 |
 |
 |
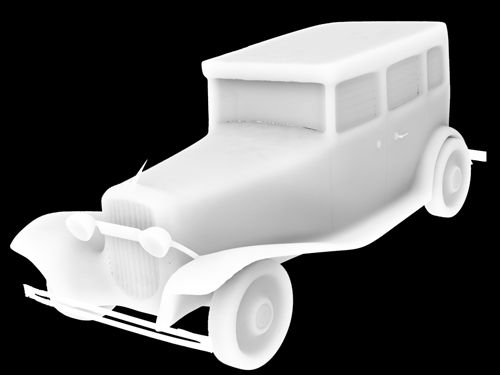
2. BASIC RENDER PASSES
My basic render passes are generally what are considered to be the standard especially as ZBrush renders these out automatically for each BPR render it initiates. The diffuse is a little different as you have to render what is known as a "flat" render just to get the colours on the mesh. The other reason for the division of the mesh was to make it easier for me to paint too. Basically most of it was just a case of me filling each segment with colour. The Ambient Occlusion and the ZDepth in addition to Shadow were also used in multiply and overlay capacities within Photoshop.
 |
 |
 |
 |
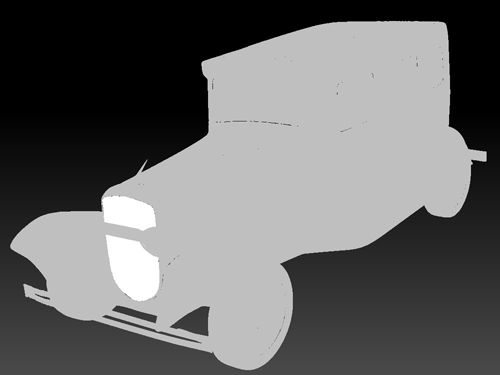
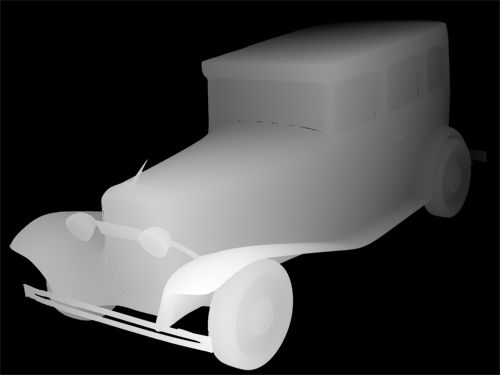
3. LIGHTING RENDER PASSES
Next came the Lighting which I knew had to be quite dynamic, for this instance I did 4 passes total two from above one from a front low and one from a front high. The two from above were at slight varying degrees too but the one that ended up becoming more interesting to me was the one that was more to the side. The others felt a little too over exposed but I managed to drop them in under my primary light pass. What I was aiming for mainly was reflections its also why the materials are slightly different between them also.
 |
 |
 |
 |
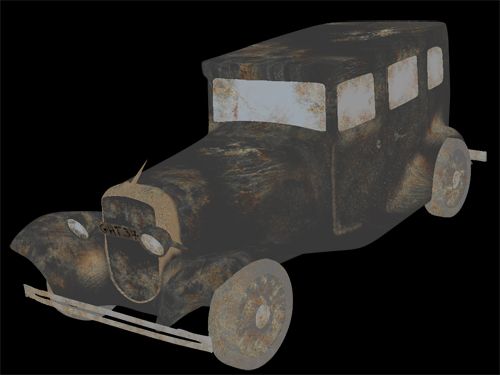
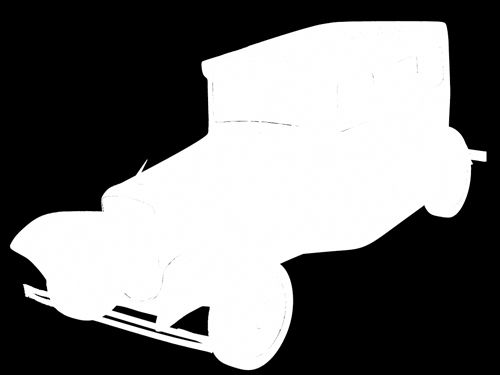
4. PUTTING IT TOGETHER
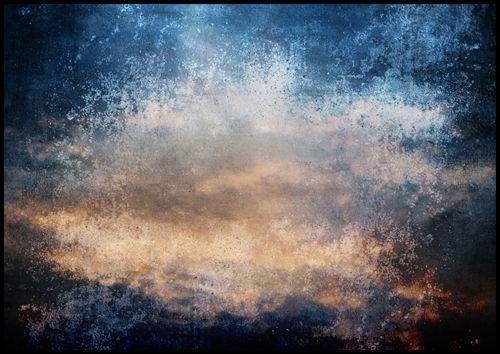
When it came to putting it all together I had to go and start cutting through all of the underlying masks with the big top mask which would remove the shape from the background. After doing this on every single multi pass render layer I put it blended it all together getting the results above. I then went in search of a texture which I felt suited the mood a little. Again I'm not really sure about the texture because it looks quite nice against a black backdrop. Still I thought I would give it a try and post this up anyway, but yes this is what concluded the journey.
5. BREAKING IT DOWN
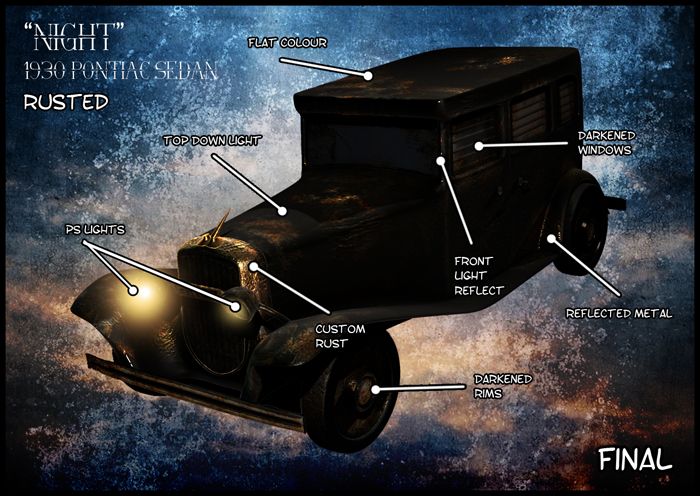
Final touches done in Photoshop aside from blender modes was quite minimal really. The design probably the most fundamental. The lights were added to the concept but in Maya I plan to simulate them with real lights. Custom rust was used all over the car particularly in the crevices of the car. Some of the other metal including the rims was too shiny so I had to darken those down with a less reflective material. You can see the overhead lighting particularly well and the highlight zones are from the front lights which are more focused towards hard lights.. This shows its made of metal at the very least.I have learnt a few new tricks in ZBrush thanks to this little car so that's a nice thing to know. I find it particularly handy that you can assign textures to your brush and then scatter them with custom Alphas. It really does make a unique coating if you have the time to do it that is. If I'm a little unhappy with something its most probably the front window... Did not know what to do with it really, I haven't built interiors in this bad boy. It would just eat up more time that I don't have and add more polygons to my overall count and I'm trying to keep it low...
Anyway that concludes the Stage 3 concept... For the Night Car. Hopefully I should have this car wrapped up by today so wish me luck on that guys...
Take it easy!
xXStItChXx
Hey, I know it's supposed to be 'night' car but either the render is too dark to show off your car's craftmanship or the background is too distracting over the car, maybe have a play around at displaying the render? I'd like to see the game details :)
ReplyDeleteEven just a render with more light to show the car off, doesn't mean it's the end concept piece if you don't want it that way
Howday!!
DeleteYou ask me it is the background... never was sure on it if you look at one of the images prior to the breakdown you will see... a rendition of it against a black background...
I had tried using more light but to be honest it washed out a lot of the dents/detail because the light in ZBrush is quite intense...
This is just a concept of the car for the texturing modelling process the whole thing will be done in maya so that will be more clear... :)
Hi Stitch,
ReplyDeleteThe car is very dark (no tonal range). It's basically a silhouette at the moment.