
This is the first of many updates today, I meant to post some of these sooner but I got caught up with a few other little things but never the less I am gradually getting back on track here. This and last week for Mud box had us looking into texturing with diffuse, normal, bump & specular mapping which would inevitably lead us down the path of displacement mapping (i.e. projecting High resolution details onto low polygonal meshes).
The latter is something I have been looking to find out for quite a time and now that I do I will be working on this for our short... which is greatly underway over at Smokestack ;)
 |  |
 |
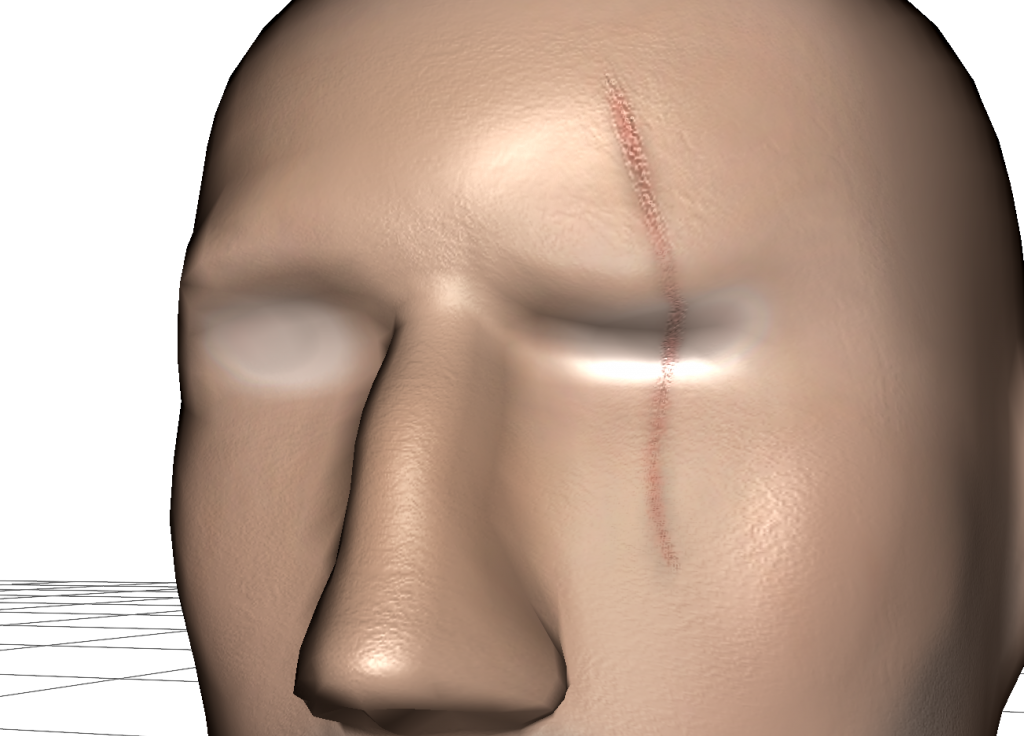 |
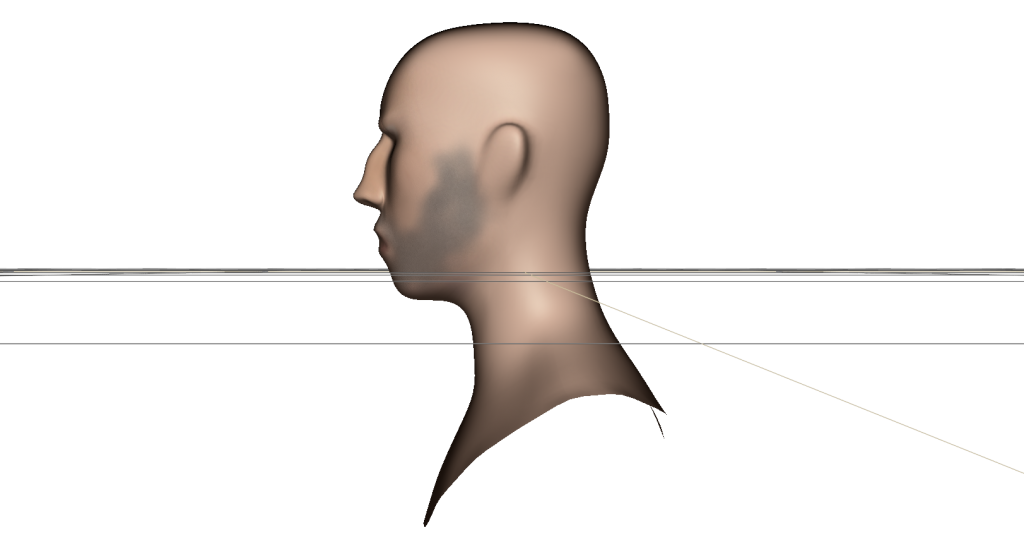
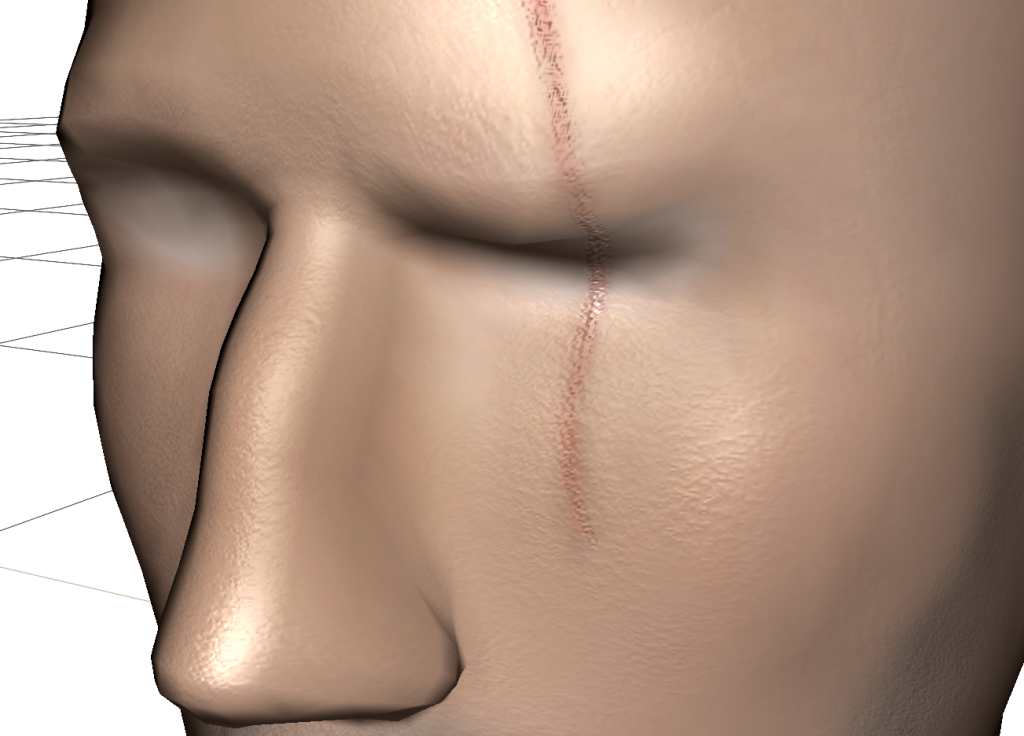
The images above if you look closely have subtle blemishes such as paws and stubble the scar is the star item of my displacement map however. I made this just to see how it would bake into a lower poly mesh without causing too much of a dilemma. Creating effects like this is reasonably easy due to the mesh already having UV Coordinates.
The mesh is still quite high resolution but I can safely say that there are no polygons dedicated to creating the scar indent... it is entirely map orientated using displacement as opposed to bumps.
The video above shows the paint layers of the mesh one diffuse, one spec and one normal. I removed the bump maps and incorporated them into my normal map when I discovered there was no easy way to combine more then one bump map. However at this stage it was converting into Maya rather effectively (see below).
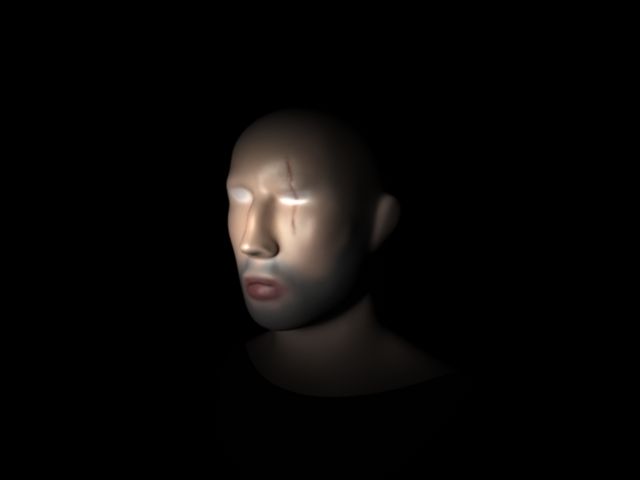
Above is the result from the Mental Ray Renderer in Maya 2013 I placed a small spotlight and just upped the drop off to get some decent fade. I also noticed the Incandescence was turned up so I removed that to keep the natural black of the background.
When you get closer you can notice the bumps of the mesh, from this distance you can also see the shine of my specular map. I'm glad I did these tests just to get the Software clear in my head. It also helped to navigate how to get the maps from one software suite to the other. A task which I found rather difficult earlier on.
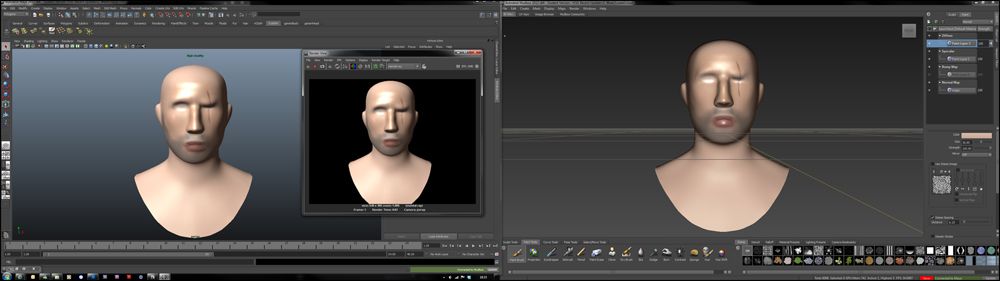
Above is a screen shot across my dual screen setup, mud box is to the right, Maya is to the left and in the middle is the render from Maya using Mental Ray. Its quite cool how you can just jump between the 2, a feature I have come to appreciate where texture mapping is concerned. I have also learnt the hard way that being bringing the maps in and linking it all up yourself (not recommended).
I began this series of Mud Box lessons with a bit of a depreciation for Mud Box especially with suites like ZBrush out there which make the digital sculpting arena a breeze. However I have found the texturing to be more intuitive in Mud box where you paint your own maps (any and all) directly onto your model. Things just smooth better then when you are trying to polypaint specular and other stuff in ZBrush (which tends to leave hard lines when crossing material shaders).
Anyway until next week Mud Box.
Over & Out,
xXStItChXx
No comments:
Post a Comment