
I'm running on fumes but I still have some kind of rocket fuel in my behind my hands just keep moving so I guess I can survive a little longer. This is the very last development for individual assets. After this post we will be looking into sets and bringing everything together for a big hurrah. I couldn't let the Weta Stage 3 slip my notice having built 3 assets from the ground to stage 2... Its only right that I complete a Stage 3 for people to gaze at. Once again I will be listing all of the render passes and other bits and pieces that were used for a final Weta image.
If anything is stupidly wrong with this I apologise I have had little sleep in the last 3 days so just be aware of my insanity. I cooked up a load of render passes on my recently completed high resolution Day car from ZBrush. I threw them together on a background that worked to me and started mixing around to get a decent concept piece that would summarise the success that is the day car. I have done this for my other 2 models also but only now am I actually starting to get to grips with the practice. We will see what I can do with this approach in the future :)
Anyway lets get down to the final Weta Design Post!!
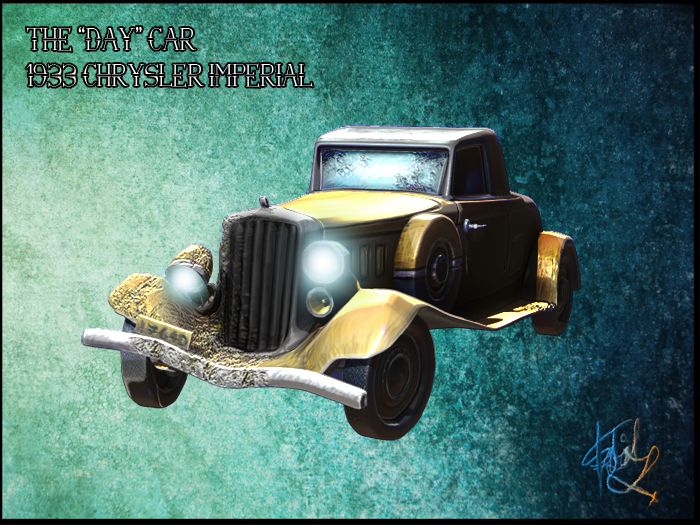
Above is the result of my render pass exploit (which is otherwise known as my "Stage 3 Concept for the Day Car"). The lights were a last minute throw in from Photoshop you got to love the colour dodge blending mode. I had to be careful with the amount of black in the scene largely because it kept making things too strong. To be fair though the amount of shadow on that side is just a reaction to the placement of the lights in the render passes. I had to dial back the strength a little with a few softer material passes which certainly de-grunged the image.
Probably wrong to call this video a posing video as a car is always pretty much posed by being stationary. Never the less the video above shows the car in ZBrush with its 3 lights illuminating it entirely. I put a Blinn material on the car this time as it really made the car reflect quite nicely, I just thought it was a cool effect for the video turn around really. Next came exporting the video which gave me a few problems, sometimes ZBrush just does not like you recording videos. I get the feeling it happens after extended use or if you record for too long.
 |
 |
 |
 |
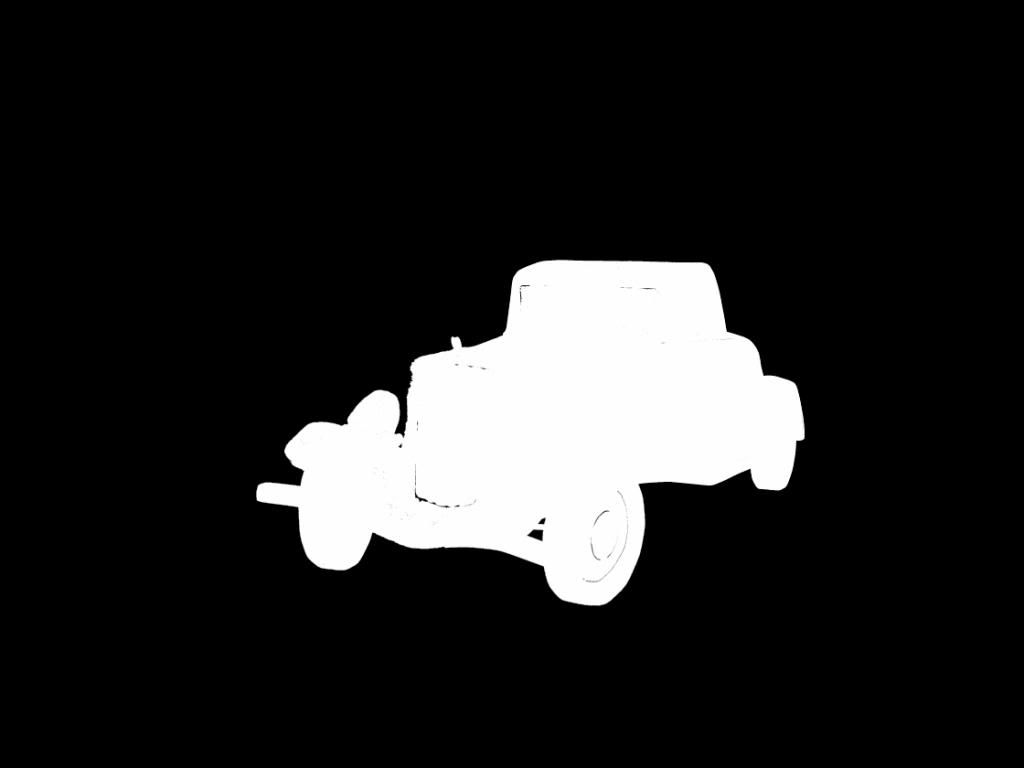 |
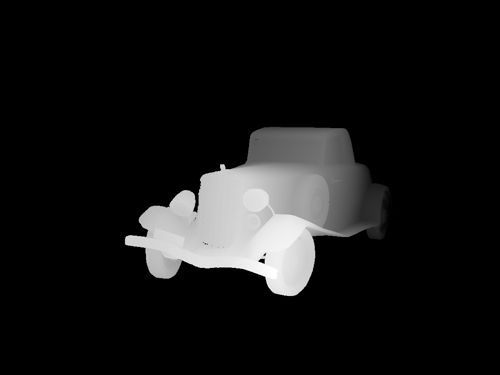
2. BASIC RENDER PASSES
The basic passes can be seen above, (from left to right). You have the standard Flat colour pass which essentially is all of the poly painting for this model. The Depth pass distinguishes the distance of the model in 3D space. The shadow pass creates darkness where light cannot reach. The Occlusion pass emits depth from crevices, its kind of like a combination between depth and shadow. Last but not least you have masking which allows you to remove the background from each render image allowing you to place it on any kind of background.

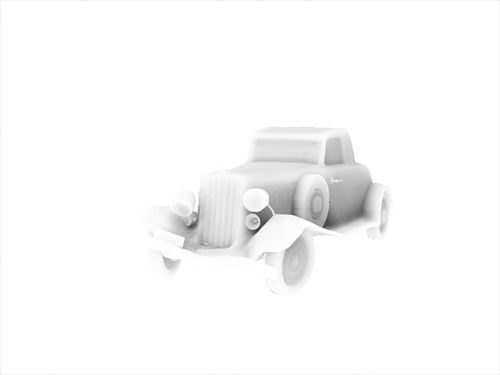
3. DIFFUSE RENDER PASS
Next we have the Diffuse Render pass which essentially is your floor layer, every render eventually falls down on top of this pass. It is mainly because it is an empty model waiting to be filled with colour and shade. The light is already in the scene thanks to 3 point lighting. Its not much to look at I'll give you that but believe it or not the bottom one rarely is, it needs everything on top of it to be anything decent. You can actually appreciate the dents knocked into the higher resolution model. These were exported as normal maps and are present on the low poly model :)
 |
 |
 |
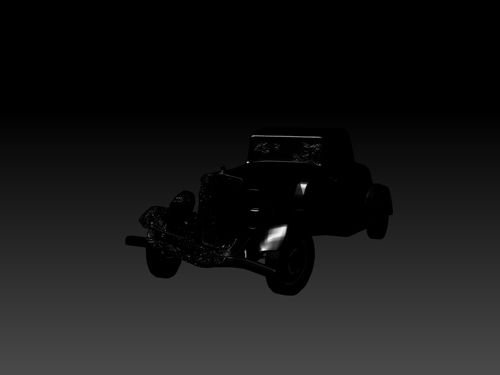
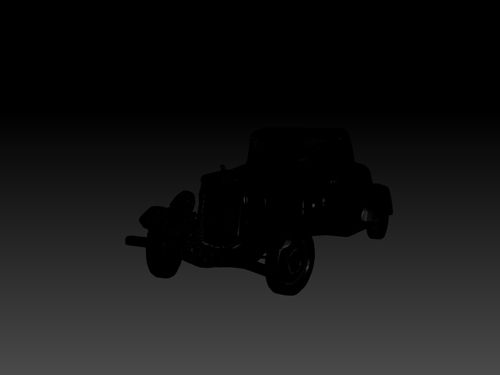
4. LIGHTING RENDER PASSES
Next is the all important lighting passes, these could be seen in the Diffuse but they are much more noticeable on a reflective material. Basic Material 2 in ZBrush is the ideal candidate but you have to tweak the material in Z's Material Modifiers. The only goal in mind is to ramp the specular shine through the ceiling to make the model highly reflective to the light. In this case the Fill was particularly floppy, I may have done something wrong with the fill pass. Its virtually black, still it turned out okay in the end... It was just a bit more of a hassle...
 |
 |
STANDARD Z RENDER VS. ZRENDER PASS RENDER
As you can see though it just helps when you get to alter the layers yourself. It allows you more freedom changing aspects of an image via its passes. You can change opacity values, hue saturation values to name a few. I am actually quite happy with the result I got here, I felt there were no need for more then one. I like how the image looks now. The lights just make it look even more epic. I will have to do more experimentation with this method over the summer. My business partner has tonnes of Z-Models for me to do my little tests on... This will be very fun making things pop!
Well I will miss this little car but not as much as I will miss the Driver. I may be cheeky and see about rigging him at some point. I've never had a games character mesh to use... UNTIL NOW. Will be nice to see if I can actually achieve a good result. Well I think the next moves are to get cracking with the Art of Document... I figure if I crack that our quick then I can sit down and take my time with the final demo reel stuff. I could do that or I could get the demo stuff done and do the Art of Later... Not sure, I will be up with another few posts today though... That's for sure!
Over & Out,
xXStItChXx
No comments:
Post a Comment