
Been piecing together my exploits over this and last week, the UV Mapping came before this with the textures all of this had to be cleaned up a little bit and put into a format that can be put onto the blog without insane loading times. To top it off I'm doing all of this on my older laptop as my new one is currently rendering out a Hench render of my end sequence.
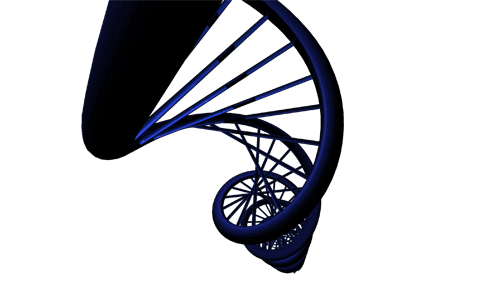
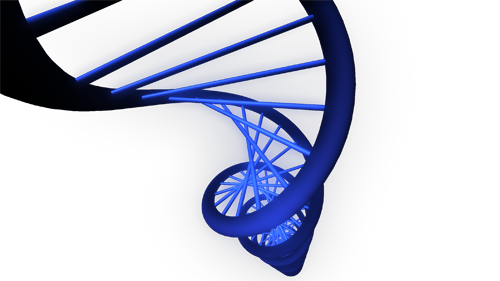
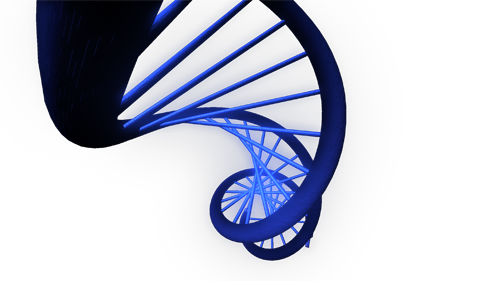
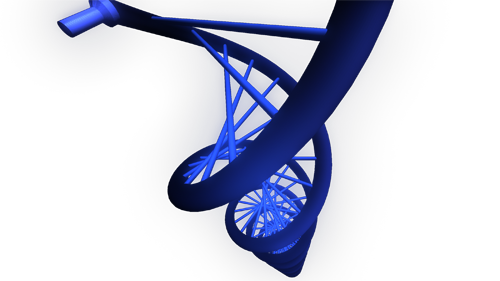
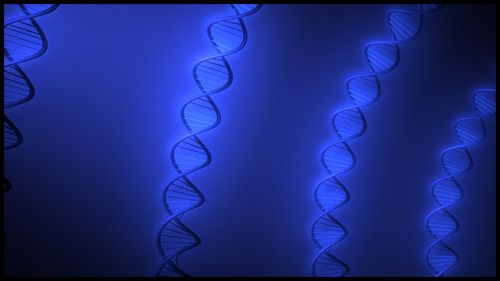
The images in this post are the entire development of my CG idea. Every time after I completed a scene I moved to the temp folder and emptied the contents which were all of my test renders while I was familiarising myself with textures and lighting. This should demonstrate not only my lighting and texture development but the development of my final art style.
Please enjoy my test renders - final developments. (Click them to enlarge)
 |
 |
 |
 |
 |
 |
 |
 |
 |
 |
 |
 |
 |
 |
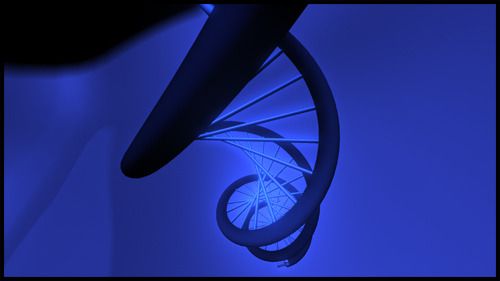
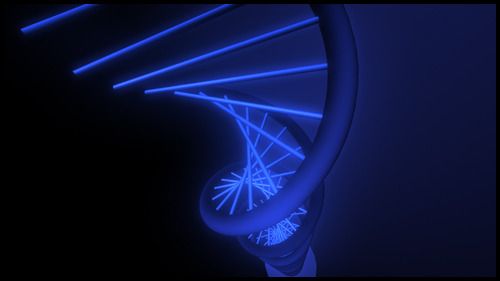
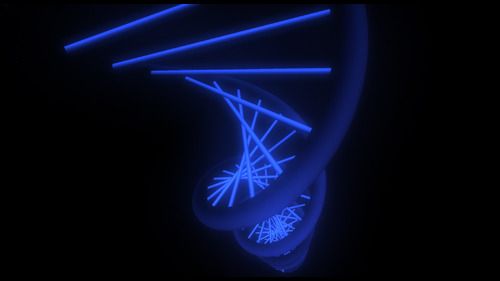
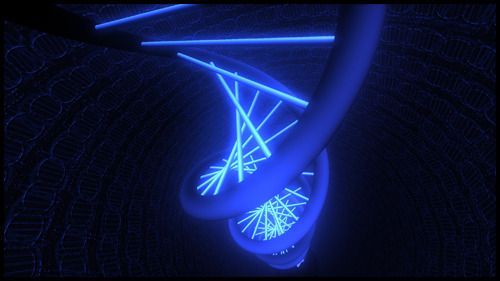
Scene 2 was where everything was up in the air I knew how I wanted the interlude to work but I had no idea how it would look with the narration. The first image shows that originally I had it to a very cartoon style but it didn't feel right. I started playing around with the spot light with a basic blinn but that didn't feel right either.
The glow was then added and things started becoming more lively, I sat with a spec map for quite a while as well. I was even undecided about the background which changed a few times until I decided to leave it off and add my own background, I did this just to have a little fun in after effects.
 |
 |
 |
 |
 |
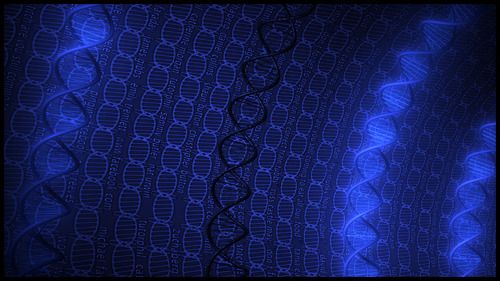 |
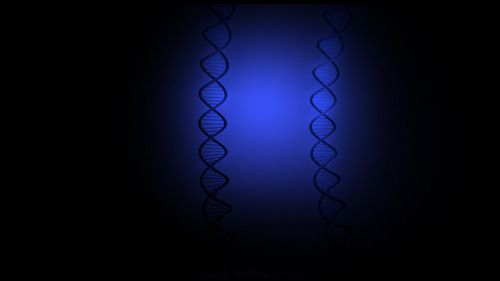
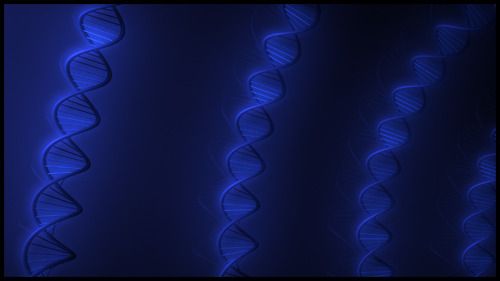
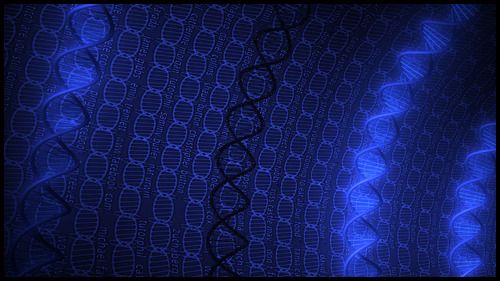
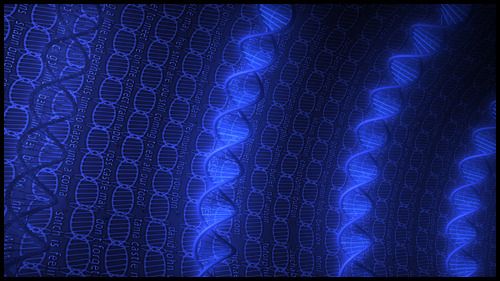
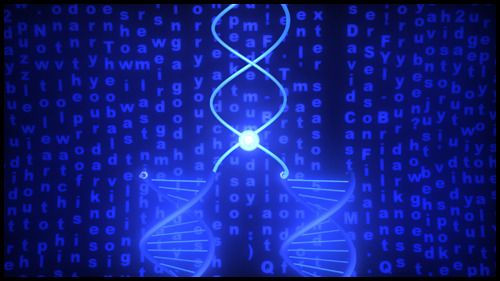
Scene 3 was where I had to seriously start experimenting with the bend modifier I also had to consider the movement of my strands which I wanted bent but also able to fully animate. I was also stuck for texture ideas, I didn't see the point of creating an entire room that I wouldn't use so I kept it to a single half pipe and what I projected onto that wall would be my background.
At this point I just thought id keep it to the texture used in Scene 1 - Tunnel of genes. I just didn't want to over complicate anything in case I didn't have it ready in time.
 |
 |
 |
 |
 |
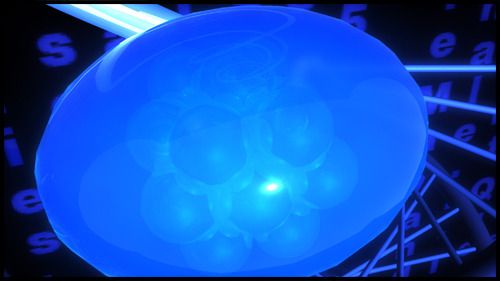 |
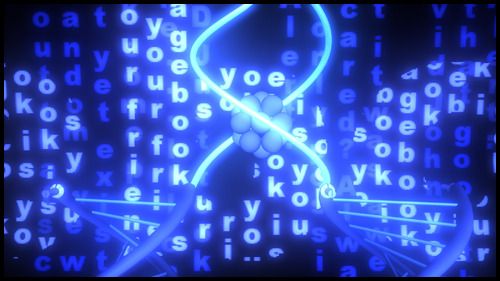
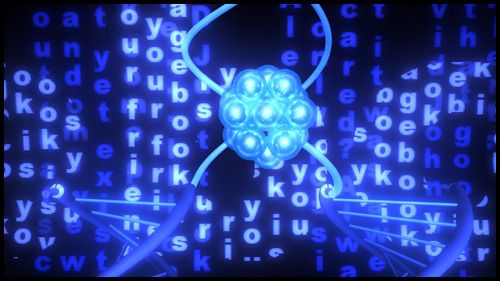
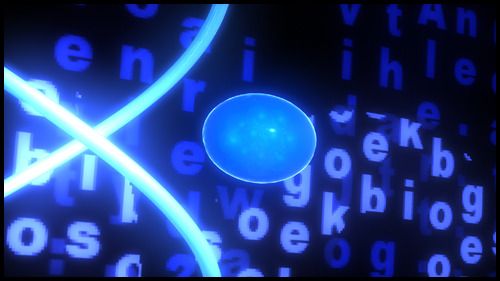
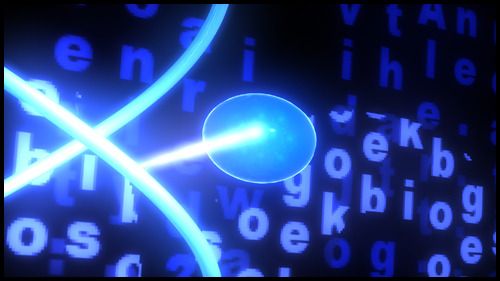
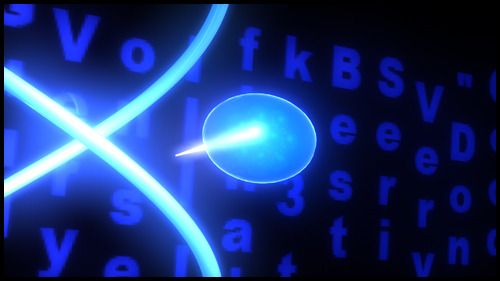
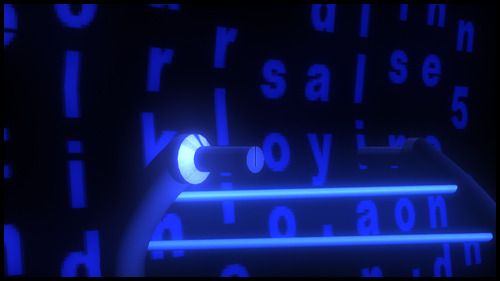
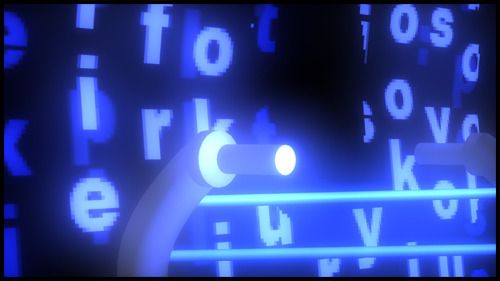
Scene 5 was where I had to consider different shaders my blue spot light would make anything I placed blue but I didn't want a solid primer I wanted it to appear as if it was made of glass. It felt like it fit the theme of my video more openly with a mechanical feel as opposed to a human feel.
The plane behind I wanted facebook messages or notes I arranged it in the ever popular method of the Matrix devoid of code of course. This was where spec maps became fundamental for shining up specific words of text. The entire specular effect really emanated well with the glows of my visual objects.
 |
 |
 |
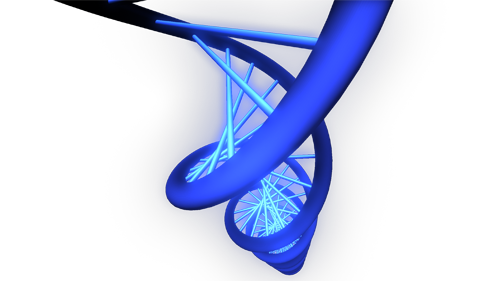
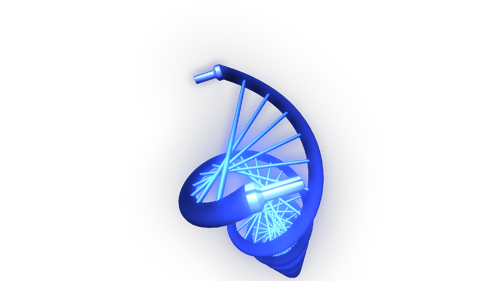
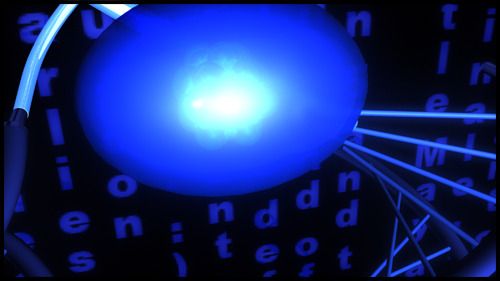
Scene 6 was a very long process but with all considered it turned out better then I could have ever hoped. I decided to reuse my background and keep it looping and turn my attention to animating my little polymerase up a chain of DNA. Creating the extrude shapes took forever but it actually ended up looking like the polymerase were laser fitting the DNA strands from the ground up.
Moving the shape around was another thing I had to consider which became easier when I centred the pivot onto the tip of the beam. The shader took a while to perfect as I had never used Incandescence before and now that I have I can quite frankly say its the light Sabre effect.

The Image above is a close up of what I was talking about above although it is not without its flaws - notice the beam to the right is not connecting to the DNA strand and its because the strand is slightly out of alignment due to the rotation from a prior scene. While it is not perfect it is still better then what I thought I could achieve and regardless of grade I think it conveys a digital world quite well with all of my super nice illuminations.
I really enjoyed playing with shaders more so then I ever have trying to work out the formula for UV Mapping. I will certainly be looking into these things more over summer hopefully with a few things I have lined up...
 |
 |
Scene 10 was my weakest moment here, I couldn't figure out how to degrade the tips of my telomeres in the video so I decided to try and synthesise something up in after effects. The ends are quite primitive which is another reason why I am not very happy with their final outcome.
Time constraints caught up to me as well as other things so I had to pull the trigger here. Still I think the video as a whole is better then it could have been back when I was terrified of approaching this video. To be at the end of it a little wiser makes me feel great... To be honest I'm already happy that the final scene is rendering I need a vacation lol.
Okay well that concludes the development process of this video with my lighting tests and texture tests. There are scenes missing from this because some were so cut and dry I just moved them to where I needed them and hit render.
Plus I'm pretty sure some of them did not kick out temporary renders which I found quite annoying but I assume all of the tests above will suffice and fill my client with the confidence that I haven't been sitting on my hands for the last few weeks.
Take it easy people!
Over & Out,
xXStItChXx
No comments:
Post a Comment