
Just firing up the last remaining posts for the last unit not really for grading purposes just because I did the work and it would be a waste if I didn't submit it for the masses to view. I have submitted the unit so whatever will be will be now... its out of my hands. Anyway I will now move on to what this post is actually about if the title was vague to you.
Basically over the Christmas period I bought a 3D artist issue which coined a phrase I was unfamiliar with "Weta Character Design" I later found that "Weta" was a workshop that conceptualised characters. Anyway, the issue delved into quickly exploring ideas in 3D form using ZBrush, ironically it also gave me the final idea for Peter Creeks Face. Originally I was just going to build all of my Characters in 3D and submit that for the Character Unit (but the brief Criteria worried me saying everything had to be drawn so for that reason this step was scrapped).
However, the Weta Design method looked amazing so I set out to make myself some amazing reference... Instead what I ended up making was my first run at various render passes and blending methods in Photoshop. As I was pushed for time I dragged a base mesh from the web and made it blocky using trim dynamic and adaptive brushes from ZBrush's arsenal, (sadly I had no idea I would be using it in a post so the steps of me building him are lost).
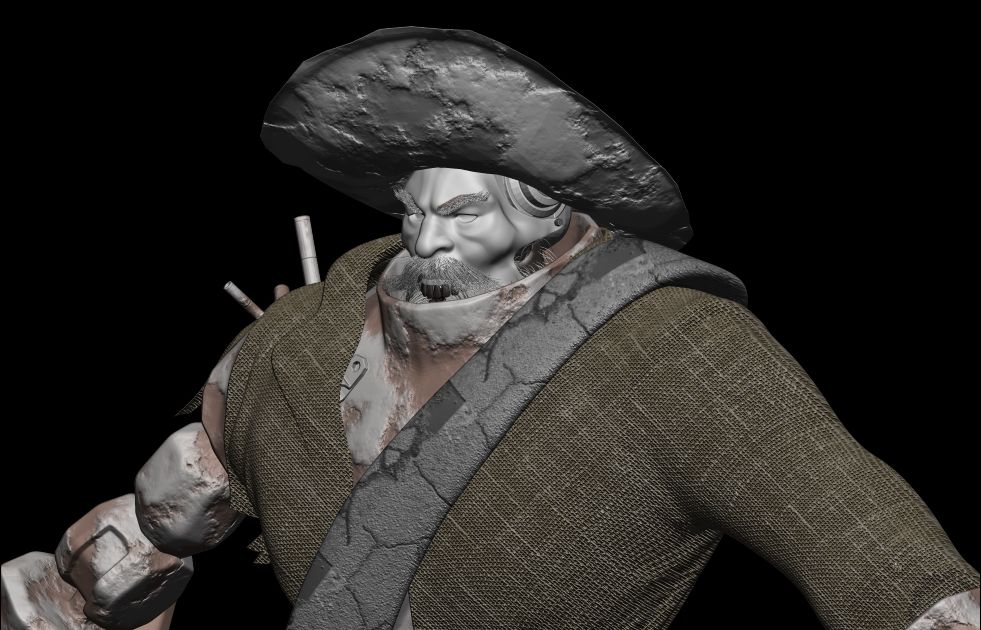
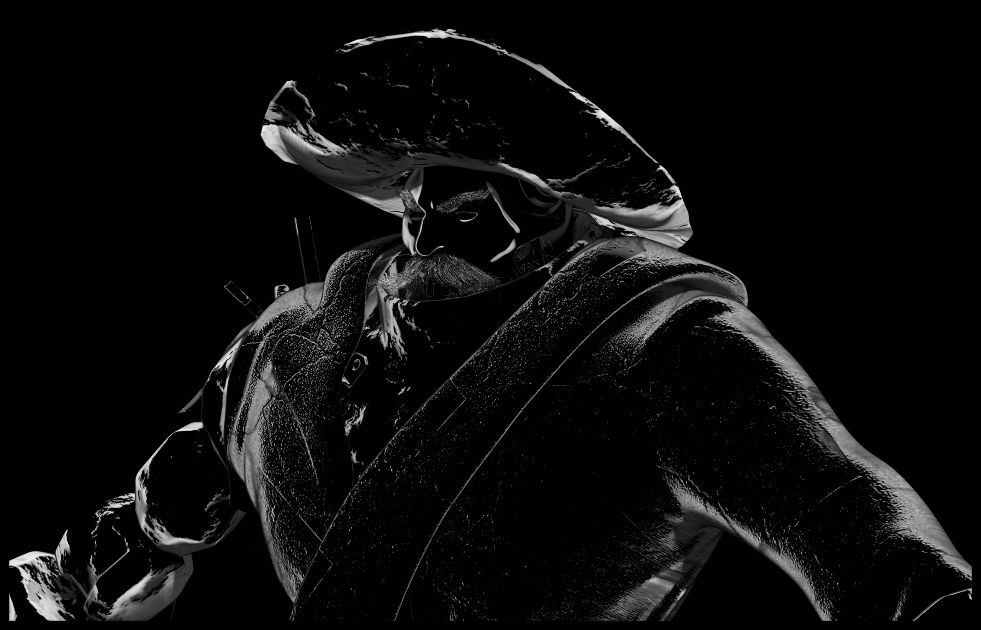
This post is about the rendering process I went through once I had built the model, it also shows the end result which I will post first - See below:
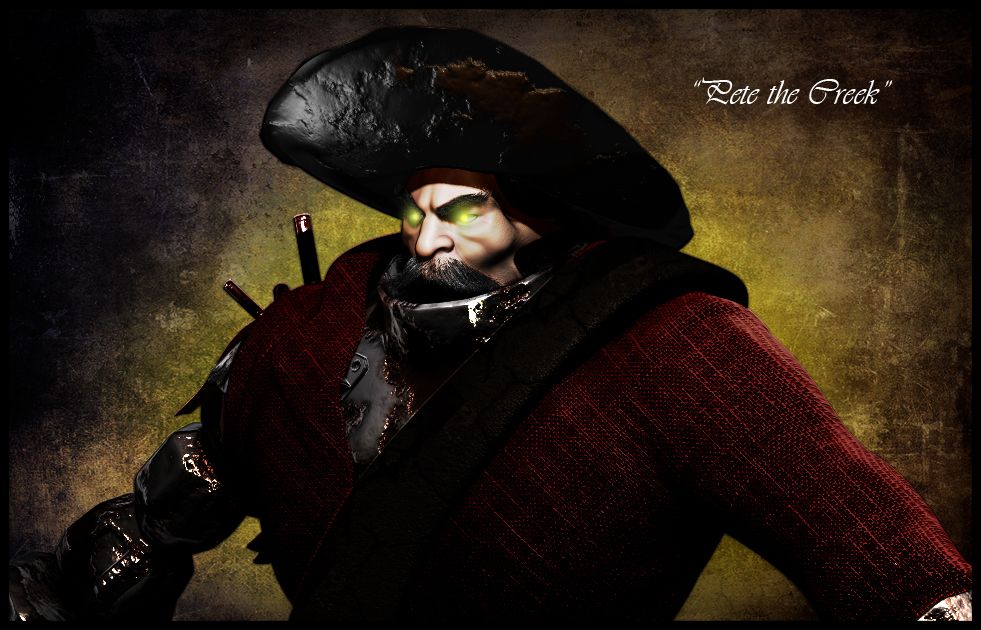
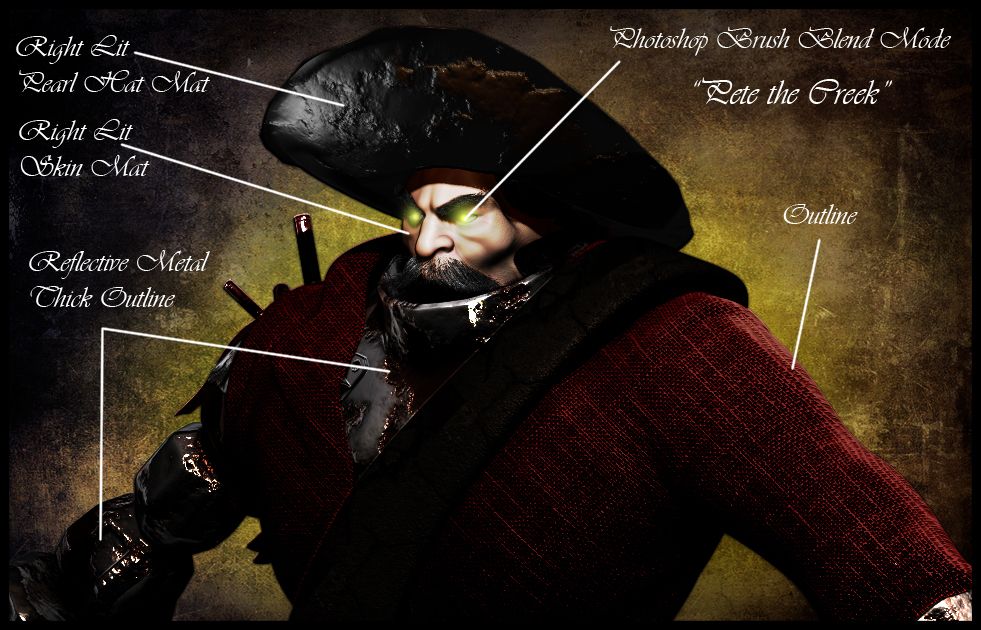
As you can see the image I produced looks awesome , it is actually constructed of numerous render passes (including the set menu - AO, ZDepth, Shadow and DIffuse). Masking was the key to the success of the image but again its one of those things you have to understand to use really. I will go talk about this process first before breaking down some of the components that build this image (shown above). The only thing this post will not cover is the quick sculpting process using Zspheres, the use of fibres to create hair, and the use of noise to create basic surface mesh deformation. This post is entirely about the rendering process in ZBrush, nothing more, nothing less... Those of you interested read on, those of you that are not oh well I tried lol.
 | 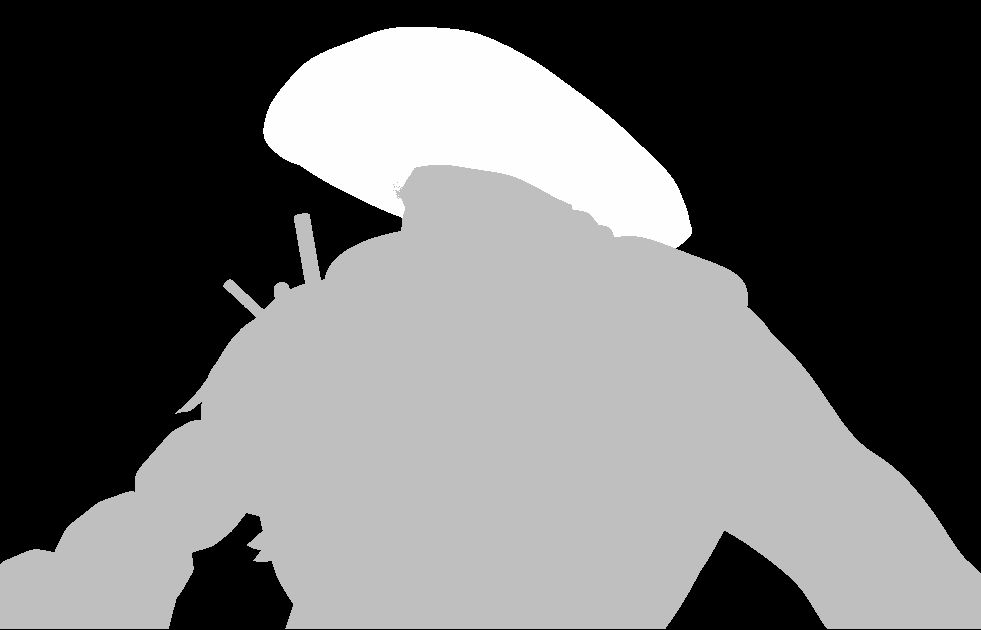 |  |
1. MASKING
What I did not realise (when doing the first render) was the importance of the mask in ZBrush, no it doesn't just make the background darker for your character, it allows you to isolate sections of your character so if you want one bit to shine a particular way and another to have a colour but not the rest then you can pinpoint those areas by simply selecting the subtool while having your tools filled wit the diffuse mat. Its essentially a localisation tool allowing you to select the components you want to render out. Another thing about ZBrush is, its renders do not come out background less (a design flaw if you ask me) so you have to remove the background (after pre-setting it to a block colour) to be able to plant your character into a scene... Masking allows you to delete that rather annoying background easier and I suppose its better then nothing...
 | 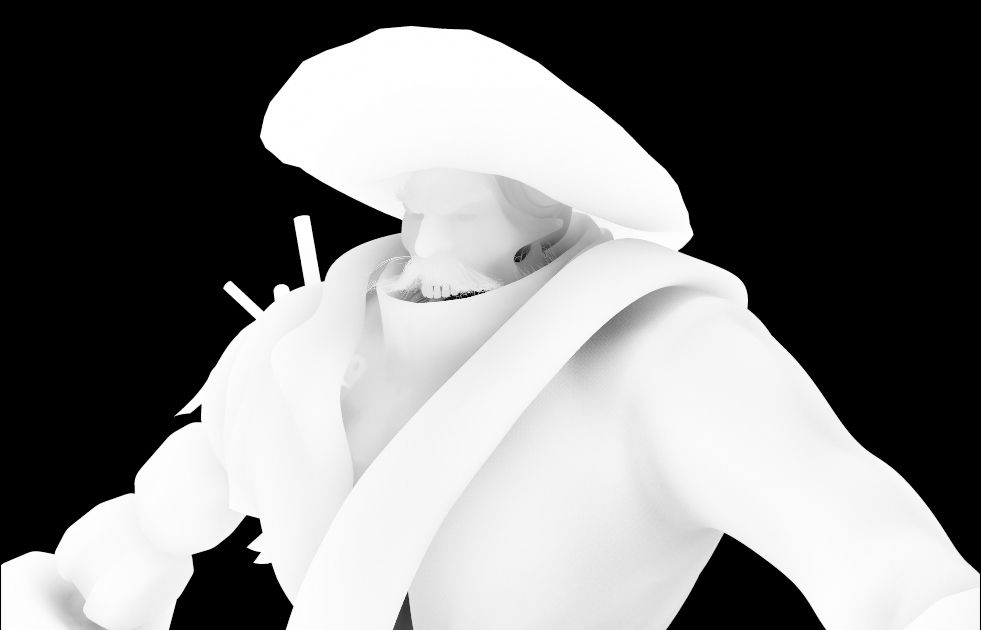 |  |  |
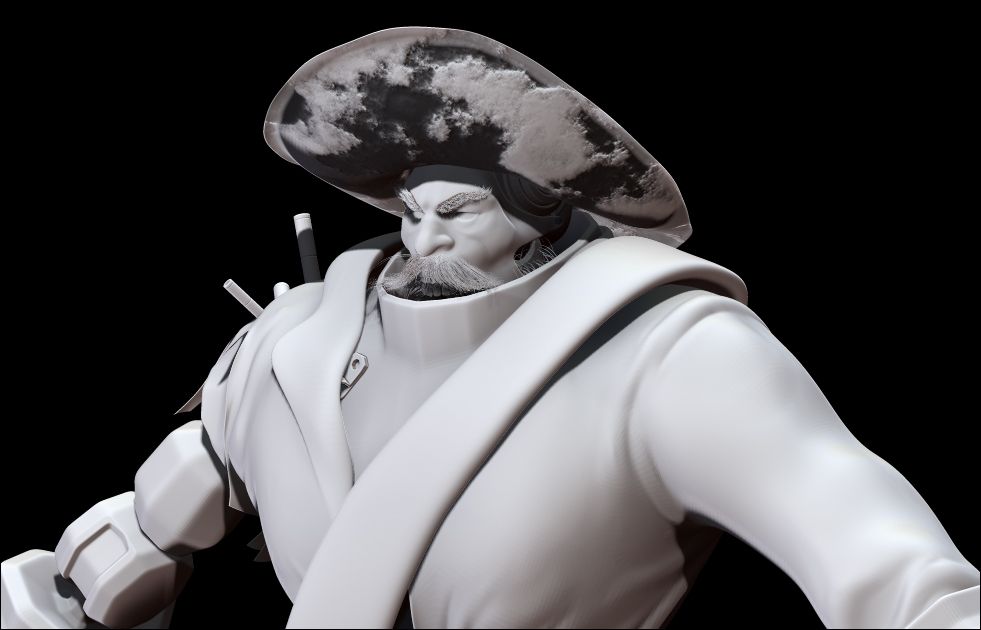
2. BASIC RENDER PASSES
Next comes the Basic passes, now I bet you are asking yourself why are these basic you still have to make them. That is true but the reason I call them basic here is because ZBrush makes them for you automatically in order to use its rendering system. You do not have to go out of your way to make them, hell I didn't. for the ones above. If you go into the BPR render settings in ZBrush you will see the model with the passes above already available so you just click each one and download it. Of course I can only speak of this in a conceptual sense and not a running video... as I understand it rendering a video with passes in ZBrush has a few more things to it but when I know I will post on here...
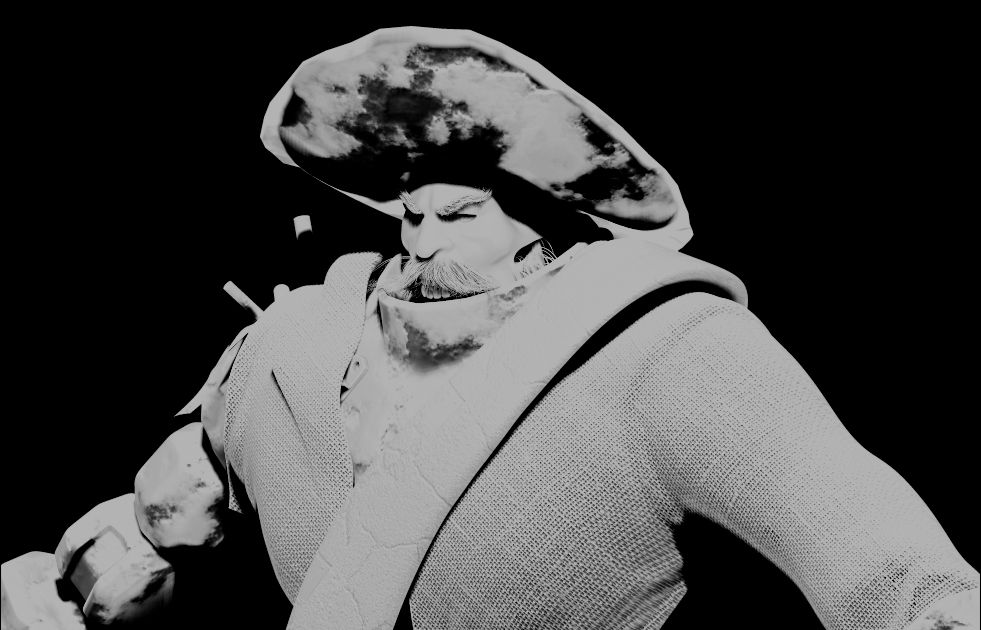
3. MATERIAL TESTS (ALOT OF THEM)
 |  |  |  |
 |  | 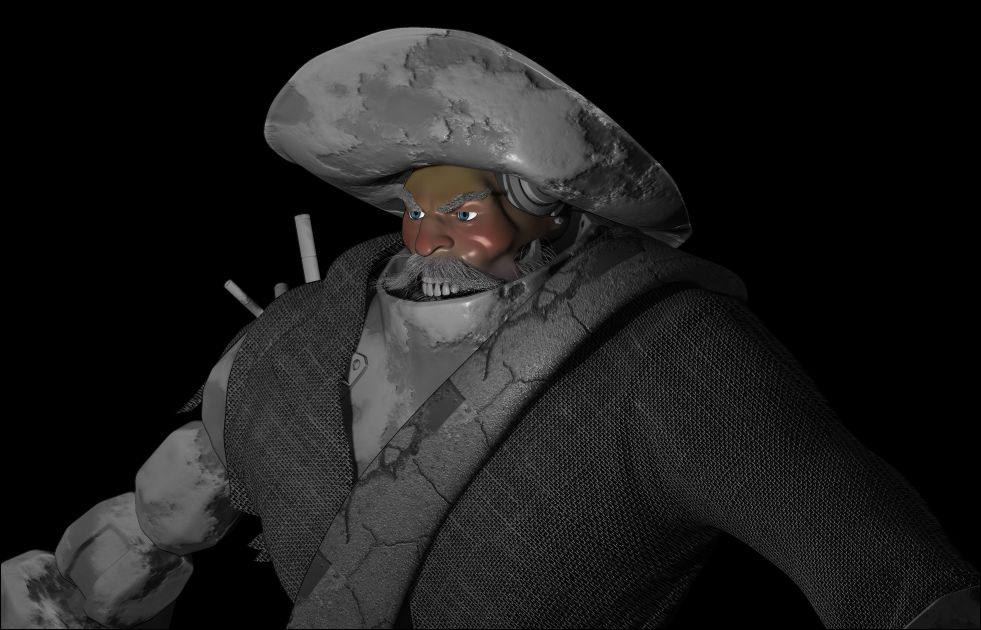 |
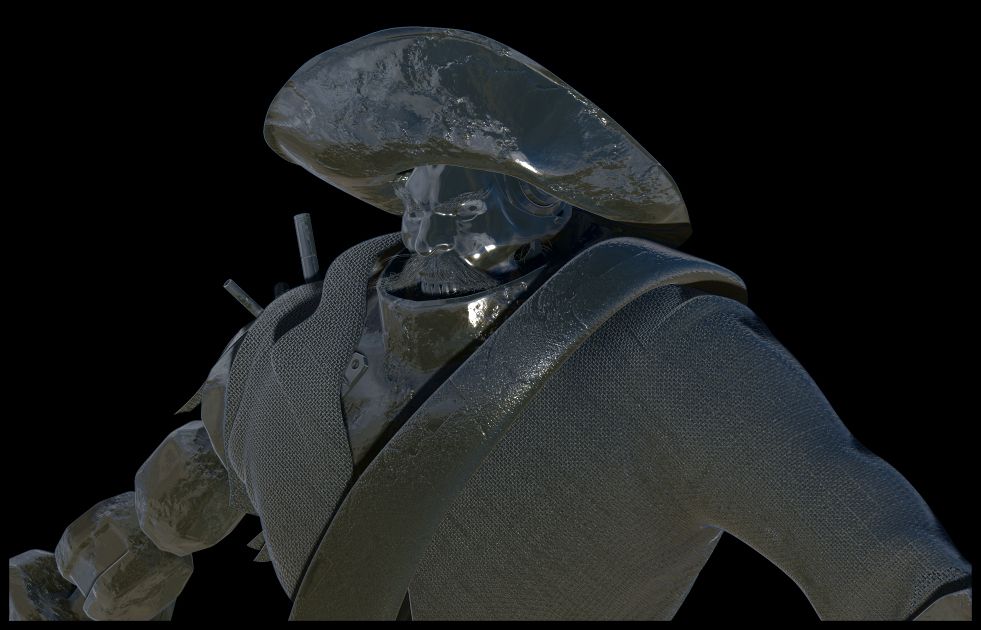
The Material stage is where you will be having the most fun, because its all new, you can start experimenting with lots of things . In Pete the Creeks case I really wanted his arm to ring shiny/ rusted metal. That really came together when I brought in the outline and reflective materials because they both fed of each other and what I ended up with was a shiny mess look at the result of the arm in the image at the top of this post. The Skin shader mat for the face was also a very appreciated attribute especially after I started adding temperature zones to the face. The pearl mat was entirely for the hat because I was worried that it was too shiny and it was. I only realised later that I had been rendering him with his eyes off... so I turned them on masked them and then stuck them over the top of everything else... why? because I COULD!
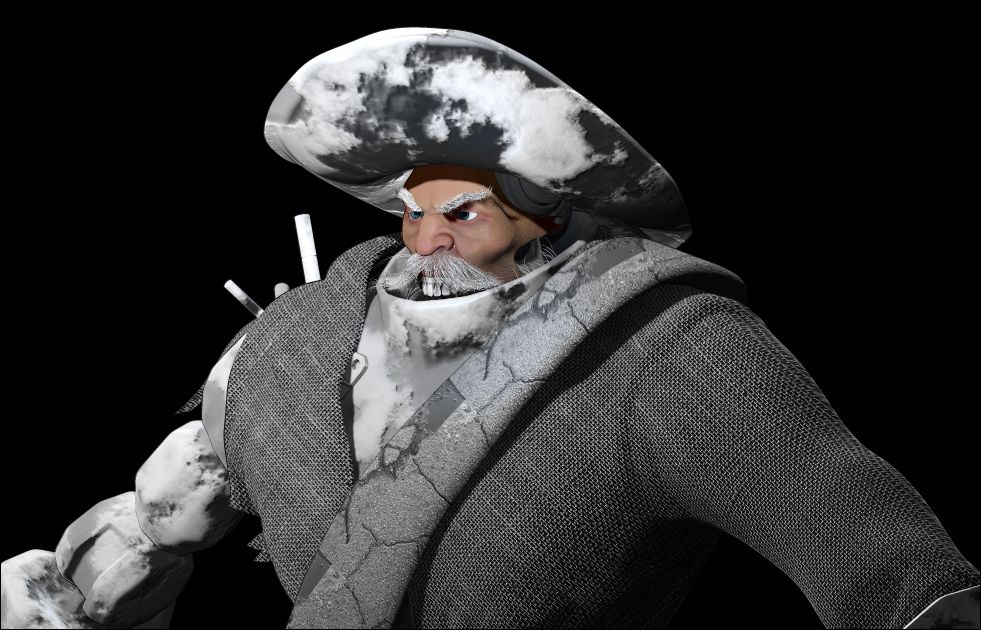
4. THE FINAL FACE
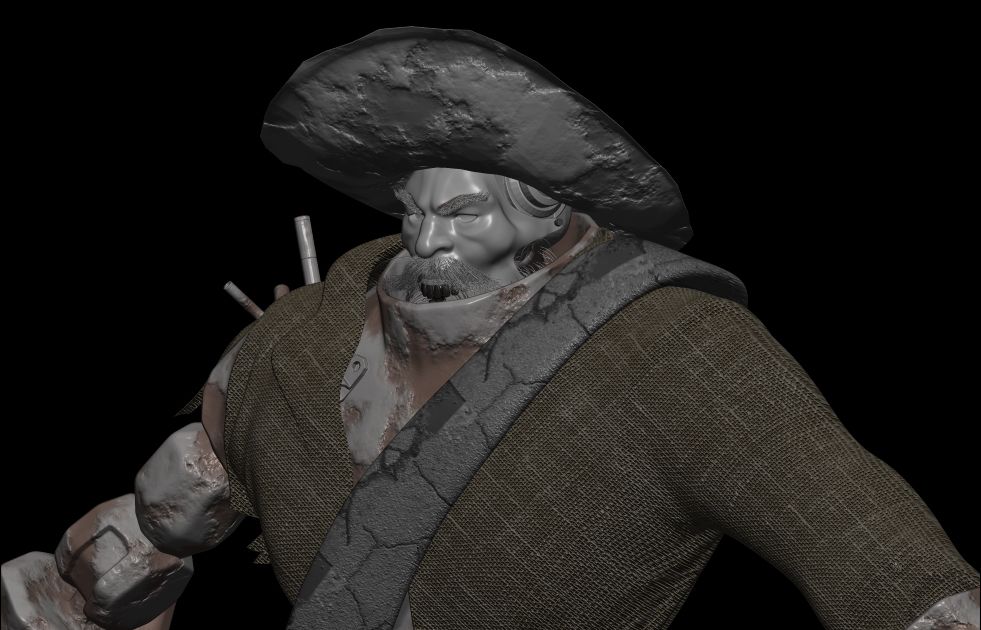
For this pass I went to town on the details for the face, I really wanted wrinkles, If I had time I would have done a cavity map which would have really accentuated the imperfections in his face but that is something I will have a play with possibly over summer or dare I say it maybe for this brief we will have to see how it goes. This model was rendered very much towards the conceptualisation phase, poly count was not considered so this would not be preferable for a games mesh (which is the career I'm aiming for. Never the less I will probably be doing most of my polypainting in ZBrush as I did for Charles in Unit 7 so it will be nice to dust off those utensils. Anyway I cut the face from this image and placed it over the render passes I already had and just like that it popped...
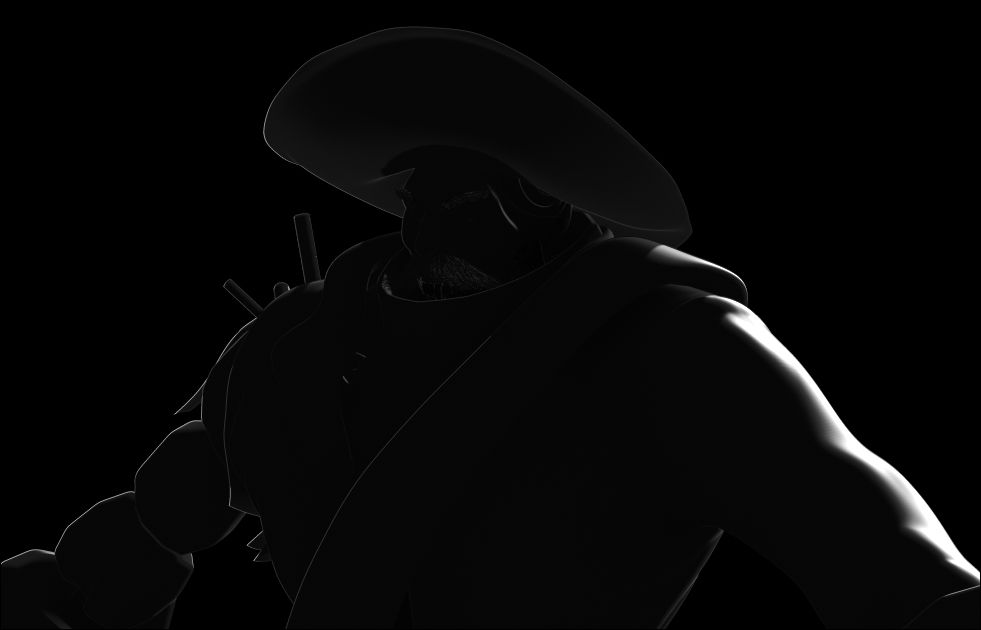 |  |
5. LIGHTING
Last but not least were my lighting passes, I clicked on the light to invert it making it mostly a rim light the second pass was from a light to the side slightly muted I figured together they would contrast really well if blended correctly in Photoshop. I probably could have spent longer here but by this point I was just rendering out lots of tests and seeing what did work and what didn't, there wasn't really a process I was just keen to see the results I could achieve with a model devoid of polycount or purpose. As I said it was entirely from curiosity that I stumbled into something which I loved the result almost to the point that I just wanted to use it. Still there was no time and he was not posed for such an occasion...
6. THE BREAKDOWN!
This is the final result broken down I wish I had saved more steps of the entire process but I was never intending to create what I considered to be an amazing render. Broken down the hat was lit from my right light pass and dampened with the pearl mat. the face was dimly lit from the right light and of course had the skin mat. My favourite part, the reflective metal was a reflective mat with a deck image loaded in and it had a think outline mat just to accentuate the metals blemishes. The jacket had some of the outline from the rim light as did some of the right side but you cannot see that clear. The rest was done in Photoshop with some FX passes and glow brushes. Of course the background was just a texture but it works with him haha.
I'm glad I could set aside some time to do this post, I had intended to do it sooner and if there was time pose the model and submit render passes based on that. Sadly it only got to the testing phase I only created the model of him as reference originally but now I know this avenue I will be considering the idea of Weta 3D Concept, this will certainly be an avenue for when I am only brainstorming an idea just to block out the process. I like things being dimensional something which I cannot always achieve on paper so its nice to know there is a 3D alternate...
I have begun researching my next unit and I think I have a few nice ideas I just have to get these final posts concluded and then I can begin with a whole new work load. I Hope this post has been educational to some and at least some nice eye candy for others!
Take it easy people!
xXStItChXx
No comments:
Post a Comment